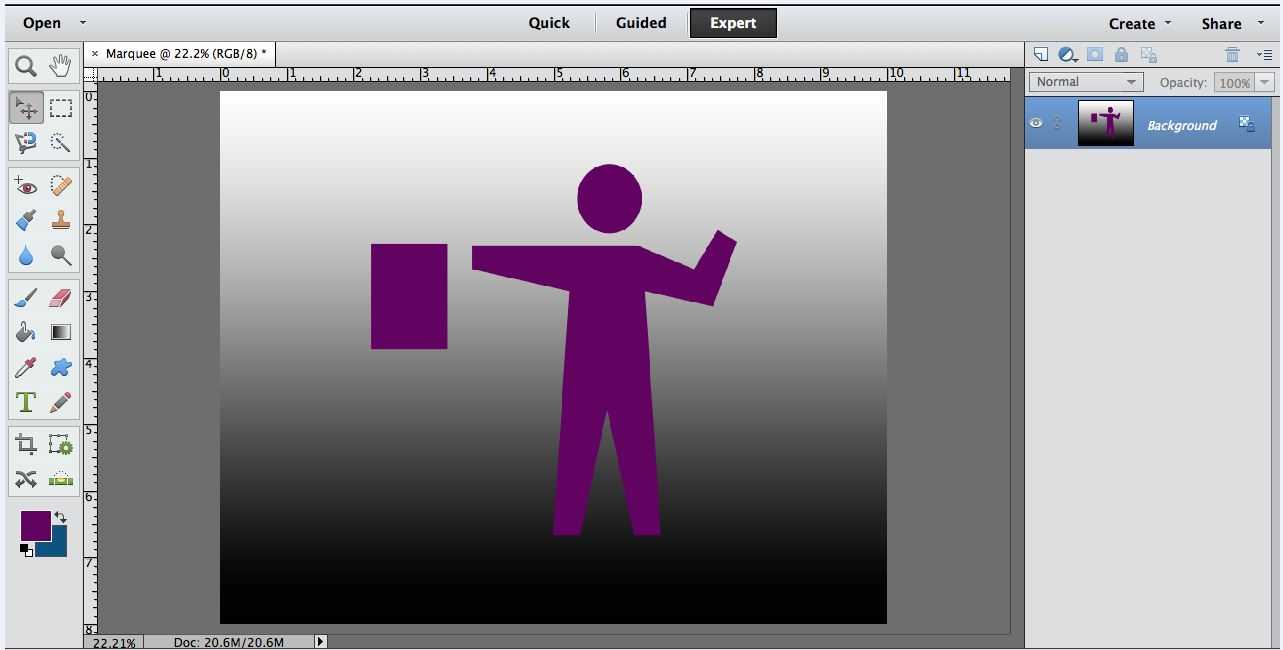
Alas, our journey through the selection tools is coming to an end. Over the past several weeks, we’ve explored the Magic Wand, the Selection Brush, the Lasso, and Quick Selection, and our last stop lands us at the Marquee. But first, a little refresher as to why these tools are so crucial in photo editing:
If you need to cut out an object or modify only part of an image, then the selection tools are just the ticket. This is one of the most common editing actions, so it’s important to know which individual tool is best for your needs. Whether you want to change the color of someone’s shirt, or move a flowerpot to the other edge of the frame, selection tools are crucial in getting the job done!
The final tool in our kit is one that is quite specialized, but can make clean crisp lines a cinch. You know those big rectangular or square signs above theaters and venues? That’s where this tool (Marquee) gets its name which reflects its ability to select traditional shapes like rectangles and ellipses. You may be thinking to yourself, when on earth would I need something like that? Well, there are more images than you may realize with just those shapes in them. So why make it harder to select them (e.g. with the brush tool) when we have the Marquee?
As we have before, let’s open up a simple image: a black to white gradient with a solid object in the center.
You can locate the marquee tools on your side toolbar near the top right hand corner. You’ll know you’ve gotten the right one when your bottom toolbar looks like this:
As you can see, there are several options for customizing your marquee selection:
- The usual options of New, Add, Subtract, and a new one called Intersect which allows your second selection to traverse or divide the previous one (kind of like making a selection within a selection).
- Feather slider bar which controls how blurred your edges are.
- Aspect which includes three options that tell the program how many pixels to select:
- Normal: select based upon dragging your mouse.
- Fixed Ratio: makes a selection based on a ratio you choose (if you want a perfect square, choose 1:1 or if you’d like a rectangle twice as wide as it is high, choose 2:1).
- Fixed Width: makes a selection based upon a defined pixel amount (for instance, if you know you only want 100 pixels total in a square, choose a 10x10px definition).
Let’s use the gradient part of the image to demonstrate the different aspect choices:
With the normal setting, the selection goes exactly where I tell it to and I can adjust the width and height with just my mouse. Now let’s try the ratio function, with a 3:1 setting:
And lastly, let’s check out what happens when we change to fixed size. Because of the size of my image, I chose 1000 x 1000 pixels:
Using fixed size allows the program to “draw” your selection for you, then you simply use the mouse to move it around to where you’d like.
And just a quick note: the marquee is not a “smart” tool like many of the others we’ve discussed. Meaning it does not recognize anything about your image: it doesn’t see color, texture, or tone and does not “snap to” outlines or edges. While this may make your job a bit harder sometimes, it allows for complete editing freedom!
Now, let’s say I wanted to select just the flag that the person is holding. Since I don’t know it’s exact proportions, I would choose the normal setting. And since it has clean, straight edges, I would not want to include any feathering. The only trick here is to start my marquee in the correct spot and luckily this tool uses a type of crosshair icon to help you find the corner.
In cases where there are not defined edges, using your feather slider is great. It will provide enough softening around the selection that you can integrate it into another photo or adjust the color/tone without it being blatantly obvious. Just so you can see, here is the same selection as above, with the feather set to 50px:
It starts to take on more and more of an oval appearance, so while we’re on the subject, let’s touch on the elliptical marquee!
It works in basically the same way as the rectangular version, with the same settings and options. The only thing different is how you pick a point to start your mouse-click to begin the selection, which is much trickier when you don’t have 90-degree corners to work with!
I always do my best to estimate and draw out my ellipses to the approximate size and proportions as my desired object. Then I move it into place and fine tune using the Refine Edge menu that we talked about in the Quick Selection post. This allows me to manually place my selection and shrink or expand the edges, feather the edges, or use the smart radius function if needed. This does take a bit longer, but it’s crucial to get just right, especially when working with a subject’s head!
Overall, the marquee tool is a relatively simple and straightforward device that you can count on to capture perfect edges every time. For those times when you’re working with standard shapes and feel like taking a shortcut, just head for the marquee and you’ll be on your way!
Thanks for taking this journey with me through the Photoshop selection tools. Stay tuned for some more fun and creative editing tutorials to come!
Sign up for an Adobe Photoshop class today to learn more! Fill out this form to receive more info:

