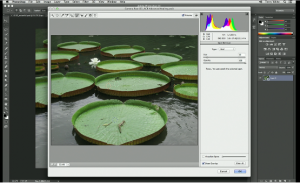
 We all love a crisp, high-resolution photo, but nothing beats the classic quality of a good black and white. Using Adobe Photoshop, you can turn just about anything black and white, and to be honest it doesn’t take all that much effort…if you know the few simple steps, that is. That’s where we come in.
Photoshop offers several methods to turn an image black and white. For instance, you can go to Layer > New Adjustment Layer > Black & White and that will automatically generate the desired effect. But, if you want a little more control and mastery of Photoshop, you will want to use the Channels panel.
When you open an image in Photoshop, “channels” automatically generate. These channels parcel the colors of your image, creating RGB (red, green, blue) color channels for the three primary colors and grayscale channels for lights and darks. Today, we’re focusing on RGB.
Baby Steps
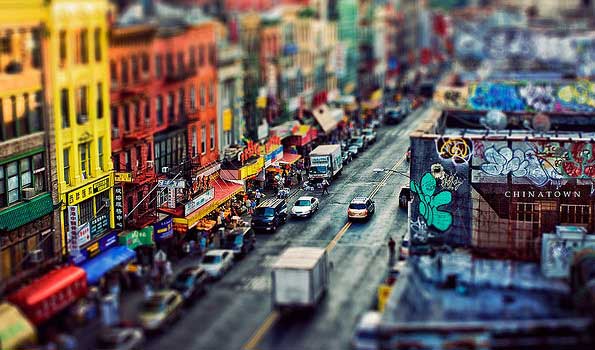
You can’t do much without an image, so open that up to get started. We will be experimenting with a photo of midtown Manhattan. Locate your panel, which typically pre-populates with the Layers, Color and even our Channels panel in many versions of Photoshop. Click on the Channels panel. Immediately, you will see the RGB channels.

Photoshop’s Channels panel divvies the colors of your image into the three primary colors: red, green and blue. Feel free to experiment with toggling the visibility of these colors by clicking on their respective eyeballs in the panel. Remember, when you remove a color’s visibility, the other two will dominate the image. You can create interesting color schemes just by removing red, green or blue from an image.

Going Grey
If you have experimented with the RGB colors enough, you may have stumbled across a black and white effect at some point. If you left only one color visible–be it red, blue or green–the result will be a black and white image. In our sample, we left the green channel visible.
Tip: Red exists in abundance in faces and skin. So, if you’re using a family portrait or glamour shots, you might want to leave the red channel visible over the others.

You could quit now, but chances are that your image could be better. Before getting into fine-tuning your image, it would be best to first look at your black and white image with the red, blue and green channels isolated. If you look at specific points of your image (especially points saturated with red, blue or green) you will see subtle, yet pivotal, changes in the image’s black and white effect.
In our next blog, we will show you how to bring out the best in your black and white by optimizing the black and white levels. Until then, have fun turning your photos into timeless, classic moments using this effect.

