Photoshop Tutorial: Creative Photo Editing: Antiquing
Last time, we explored the steps needed to achieve the effect of the famous Holga camera of the 1980’s and, if you remember, it is quite a hefty tutorial! So this week, we’re going to learn a very simple and highly applicable technique that only takes three steps: the antiquing (or aging) process. Our slick and modern digital photography may excel in capturing sharpness, detail, and color balance, but there is a growing movement to revert back to some of the images of old. Everything vintage, antique, and rustic is making a serious comeback, and there’s no reason why you shouldn’t add this technique to your photo-editing arsenal!
In essence, to “age” a photograph, you need to apply three basic things: a vignette, some kind of texture/grain, and an alternative color profile. Granted, there are many steps you could choose to add like adjusting curves, cross-processed color casts, or even incorporating pre-made textures and patterns. If you are looking for a painstaking and meticulously accurate vintage-ifying of your image, this will only be your jumping off point. But for the rest of us, let’s get on with it!
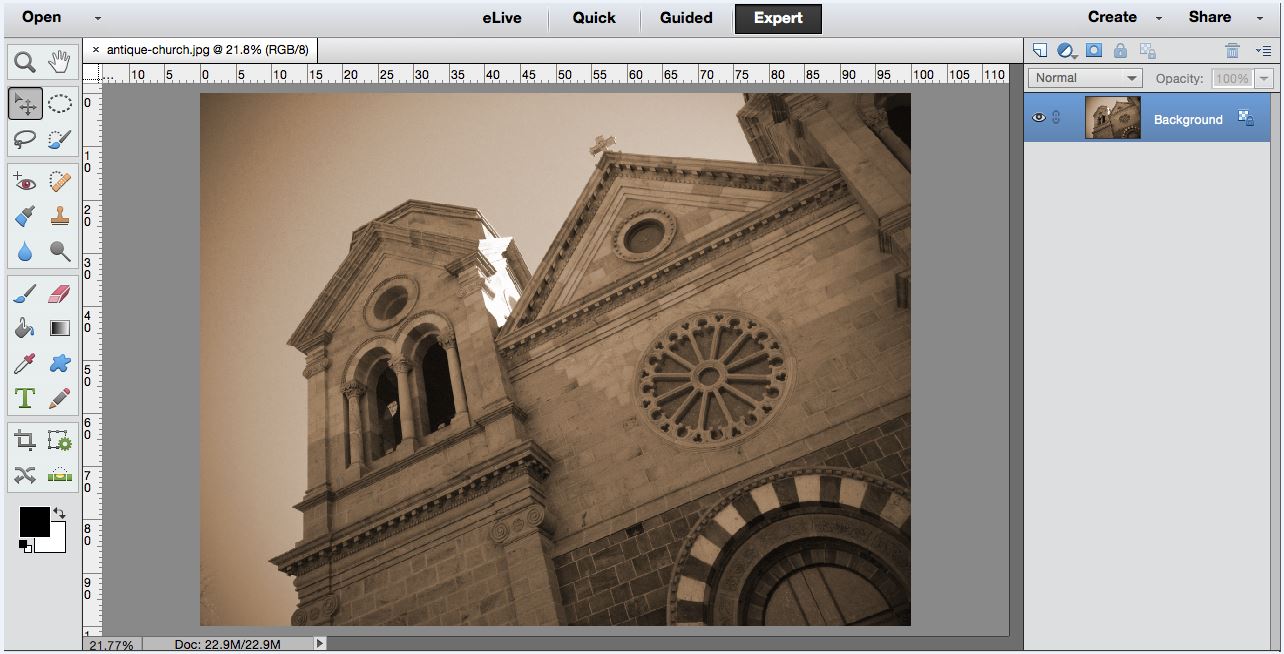
As always, begin by opening your base image- preferably one that you previously edited for basic things like tone, color, and sharpness. Most photo subjects will work well, however, keep in mind that contemporary items like iPhones or clothing logos might look a bit strange with this technique. Timeless things like posed portraits, architecture, and old cars will jive a bit better. For example, I chose an image of an old church in Santa Fe:
I like the sharp angle as well as the incredible detail in the windows and masonry. Base photos with a lot of contrasting shapes, colors, and lines will really shine with this antique process! And, like I said, there are only three easy steps to go:
- Add a sepia color layer
Go up to your Layer menu and choose New Adjustment Layer > Hue/Saturation. Check the Colorize box, which will settle your image colors along a spectrum. I’ve found that a Hue setting of around 30 is a good approximation of the sepia tone, but use your own judgment here. Saturation should be moderate, meaning not too high (like with Holga and Lomo) nor too low- a setting of around 25 is good for preventing a bleached look.
- Add Noise
A defining feature of any old photo, whether it was fresh out of the darkroom or a long attic storage, is texture. Heavy grain, streaks, water spots, and scratches only add to the charm and can all be added to your faux vintage photo. We will only cover the basic grain here (if you want more intense textures, you’ll have to ask Google!).
Go to your Filter menu and choose Noise > Add Noise. In the pop-up menu, be sure to check Monochromatic – sepia is a monochrome palette, so the colored grain option wouldn’t look right. Now, choosing between Uniform and Gaussian distribution is really a thing of personal preference; pick whichever you like best. As for the grain amount, I’ve found that a value of anywhere between 4 and 5 gives a realistic result, but play around a bit here.
- Add a soft vignette
Before it was a trendy editing technique, the vignette was just an ordinary product of old-timey photography. The sharp light dropoff towards the edges of the camera were just something to be “dealt with”- how different it is now that we are adding that back in as a desirable element!
To easily add a vignette, go to Filter > Correct Camera Distortion. In this menu, find the two sliders and set your Midpoint to +50 and your Amount to +50 as well. This should result in a soft darkening of the corners.
When you close the window, all your edits should combine into one image. And voila! You’re already done morphing your something new into something old. As always, don’t forget to flatten your layers (after saving a layered .psd copy for later fine-tuning!) and save as something you’ll remember later. Then share out far and wide!
Come back next time for our final installment of the creative photo editing series when we explore the fun and whimsy of tilt-shift photography! But until then, happy editing!


